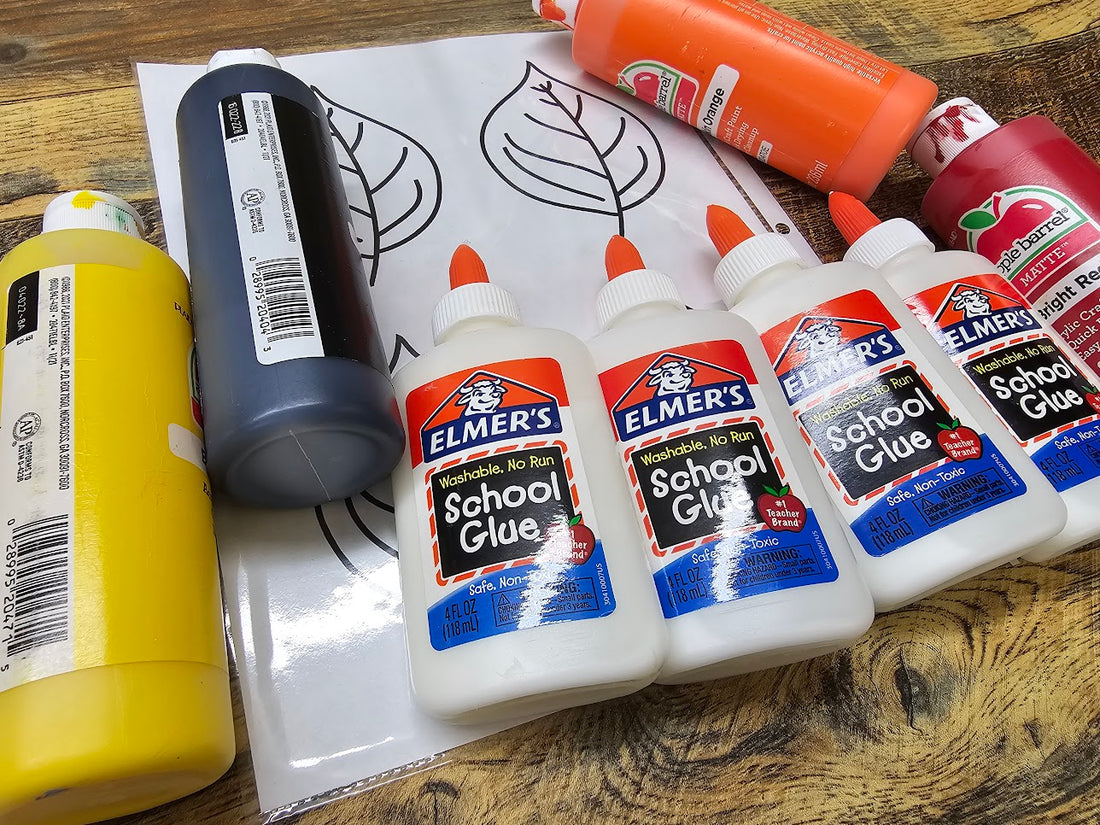
Autumn is knocking on our doors with its vibrant foliage and cozy vibes. What better way to celebrate this beautiful season than with a creative DIY project? Today, we're going to guide you through making eye-catching fall-themed window clings that will not only brighten up your living space but also make you feel like a crafting superstar.
Supplies You'll Need:
- Elmers School Glue
- Paint (in your favorite fall colors!)
- Plastic Sleeve Paper Protector
- Optional: Printout or coloring book page to trace
Let's dive into this artistic adventure step by step.
Step 1: Gather Your Supplies
Before we begin, make sure you have all your supplies in one place. You'll need as many glue containers as the number of paint colors you want to use. For our project, we're using four colors: black, red, yellow, and orange. Keep in mind that each glue bottle should have some room left for adding paint. Pro tip: This craft is a fantastic way to repurpose old glue bottles!


Step 2: Mixing Magic
Now, the fun part – mixing your paint with the glue. If your glue bottle is nearly full, add approximately a tablespoon of paint. If you have less glue, simply use less paint. This will create an opaque effect. If you'd like it to be slightly see-through, just use less paint. Secure the cap and shake well to mix. If shaking feels challenging, a skewer or chopstick will do the trick.

Step 3: Designing Your Clings
With your paint-mixed glue ready, it's time to let your creativity flow. If you have a printed design or a coloring book page you'd like to use as a reference, slide it into your plastic sleeve paper protector. Now, use the glue to trace your design onto the plastic sleeve.
Don't worry if you're feeling inspired to create your own masterpiece from scratch – that's what creativity is all about! Design leaves, pumpkins, acorns, or any other fall-themed shapes you love.
Step 4: The Waiting Game
Once your designs are complete, the most challenging part begins – waiting for them to dry. It usually takes around 12 hours for them to fully set, but keep in mind that drying time may vary depending on humidity levels.


Step 5: Peel and Adhere
After patiently waiting, your window clings are ready to peel off the plastic and adhere to your windows. Enjoy the way they capture the essence of autumn and bring a touch of seasonal charm into your home.
Whether you're a seasoned crafter or a beginner looking for a creative outlet, this project is perfect for all ages. So, gather your supplies, embrace the spirit of fall, and let your artistic talents shine. Share your fantastic creations with us – we'd love to see your colorful, autumn-inspired window clings!
Here's the template we used:

