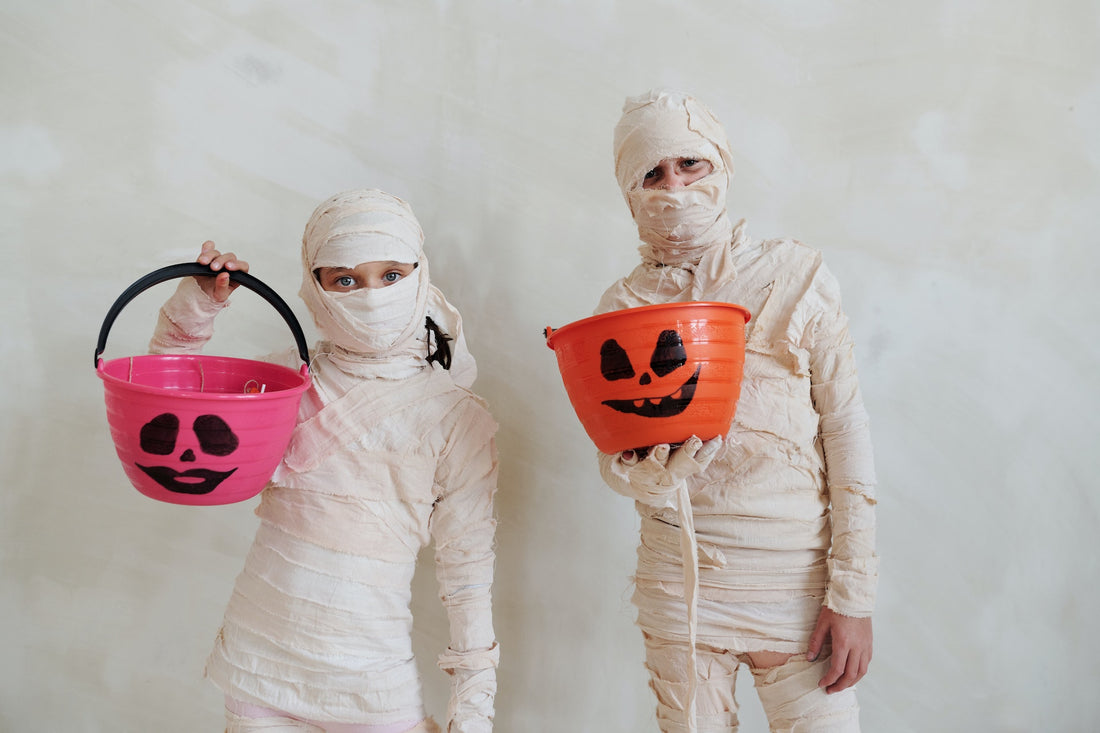
Hey there, welcome back to another awesome Tutorial Tuesday, where we're diving deep into all things pumpkin for our epic Pumpkin Palooza! This time, we've got a super cool project just for our little artists - we're making DIY Pumpkin Pails! Get ready to wow your trick-or-treating buddies with your one-of-a-kind pumpkin creations. This fun craft isn't just a great way to keep the kiddos entertained but also adds that extra festive touch to your Halloween shenanigans. Let's get crafting!
Materials You'll Need:
- Blank plastic pail or bucket (a new one or repurpose an old sand or Easter bucket)
- Permanent markers in various colors
Step-by-Step Instructions:
- Choose Your Pail: Pick a plastic pail of your choice, ensuring it's clean and ready for some spooktacular creativity!
- Design Your Jack'o'Lantern: Grab your trusty permanent markers and let your imagination run wild! Draw your own Jack'o'Lantern face on the pail - get as creative as you want! Use vibrant colors and create a friendly or scary expression - it's all up to you!
- Add Personal Touches: If you feel like it, add additional decorations like spiders, bats, or a spooky message to give your pumpkin pail that extra special touch.
That's it! With just a few easy steps, you'll have a unique and customized Pumpkin Pail to hold all your treats and treasures this Pumpkin Palooza season. Get ready to show off your Halloween spirit with this fun and simple craft project that's perfect for kids of all ages!

