Hey there, awesome art enthusiasts! Welcome back to another exciting Tutorial Tuesday. Today, we've got something super cool and fun that'll take your creativity to a whole new level: Ziploc Bag Painting!
Why Ziploc Bag Painting, you ask? Well, let me tell you!
Mess-Free Fun: Say goodbye to messy art sessions! Ziploc Bag Painting lets you create jaw-dropping art without worrying about turning your space into a colorful chaos. Perfect for parents with kiddos or anyone who likes their art clean and tidy.
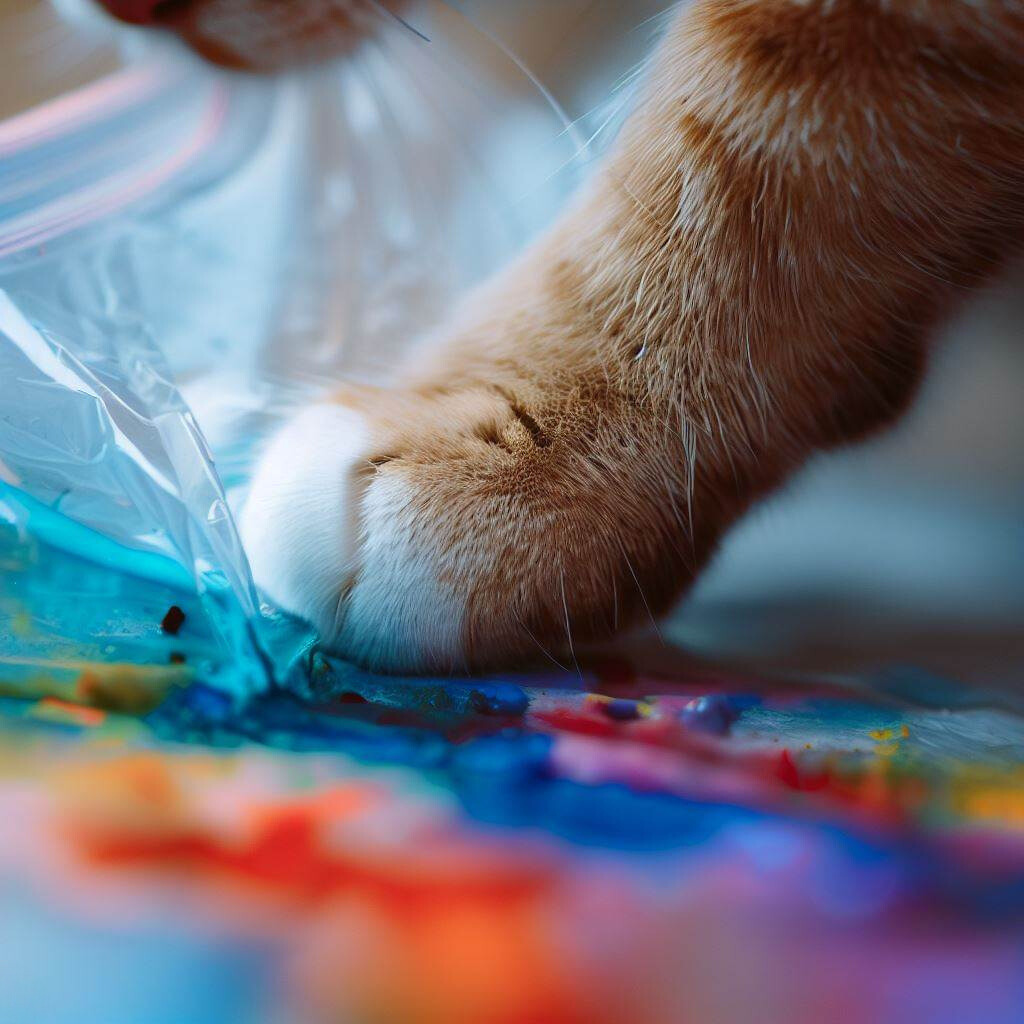
Child and Pet-Friendly: Yep, you heard it right - even your fur babies can join the creative party! Kids can squish and squelch the paint inside the bag, and guess what? Pets with paws can get in on the action too! Add a bit of their favorite treat, like peanut butter, on top of the bag, and let their tongue and nose do the work. And if you've got a cute little critter without claws or one with fresh trimmed ones, let them stroll on the bag to leave adorable paw prints all over your masterpiece!
Exploring Abstract Art: Prepare to unleash your wild imagination! Ziploc Bag Painting is the ultimate playground for abstract art lovers. It's all about letting colors and shapes blend like besties, resulting in eye-catching and totally unique artworks.
Minimal Supplies: Good news - you don't need an entire art store to rock this activity! Grab some Ziploc bags (different sizes for your canvas), a bunch of acrylic or poster paints in your fave colors, heavyweight paper or canvas, and painter's tape to seal the deal.
Great for All Skill Levels: Whether you're Picasso-level pro or still doodling stick figures, Ziploc Bag Painting is a blast for everyone. So don't worry about your skills; just dive in and have a blast!
Materials You'll Need:
- Ziploc bags (pick the sizes that match your canvas/paper)
- Acrylic or poster paints (go wild with colors!)
- Canvas or heavyweight paper (cut to fit inside the Ziploc bag)
- Painter's tape or super strong adhesive tape
- Optional: A plastic tablecloth or some old newspaper to protect your workspace (trust me, it helps!)
Step-by-Step Guide:
Step 1: Ready, Set, Go! Lay down that plastic tablecloth or some old newspaper to keep things neat and tidy. No art mess to stress about - just pure creative fun!
Step 2: Color Vibes with a Twist! Select your favorite acrylic or poster paint colors for this activity. Be adventurous with your choices, as bold and vibrant colors work exceptionally well for abstract art. When choosing your paint colors, consider the color wheel. Here are some essential points to keep in mind:
- Complementary Colors Do Not Mix: Complementary colors are located opposite each other on the color wheel. For example, red and green, or blue and orange are complementary pairs. Mixing complementary colors will neutralize each other, resulting in shades of brown or gray. While this can be interesting for some effects, if you want your colors to stay bold and vibrant, just keep those complements away from each other, alright?
- Harmonious Color Schemes: Opt for harmonious color combinations that create a pleasing visual effect. Pick analogous colors, they're like next-door neighbors on the color wheel - they totally get each other. Or, try triadic colors - they form an equilateral triangle crew on the wheel. Harmonious colors just jive together, making your artwork super duper appealing!
- Playful and Bold Choices: Since Ziploc Bag Painting is all about creativity and experimentation, don't be afraid to use bold and playful color combinations. Unleash your imagination and try out unexpected color mixes to see how they interact and blend inside the bag.
Step 3: Pop It In! Slide your canvas or heavyweight paper into the Ziploc bag, right in the center. Make sure there's plenty of room for your paint to get its groove on.
Step : Squeeze & Blob! Time to get artsy! Squeeze blobs of paint inside the Ziploc bag all over the paper - go nuts with the colors! Spread 'em out a bit, so they can blend like champs. Start from the bottom of the bag and move up to avoid paint all over your hand and arm.
Step 5: Lock & Load! Zip close the bag, removing the majority of the air inside so the bag is loose and pliable. Seal the deal with some painter's tape or super strong adhesive tape. Keep those paints where they belong - inside the bag! Tape the bag down to your work surface on 4 sides to keep your kiddo or pet from moving it around.
Step 6: Paint Party Time! Now comes the part you've been waiting for! Kids, pets, everyone, gather 'round! Start pushing, squishing, and wiggling the paint inside the bag. Let the colors do the dance of joy, creating amazing patterns and mesmerizing swirls. It's mess free finger (or paw) painting!
Step 7: Reveal Your Masterpiece! Once you're totally happy with the paint dance, peel off the tape and crack open that Ziploc bag of awesomeness! Take out your canvas or paper gently, making sure your creation stays fabulous and smear-free. You can cut the sides of the Ziploc bag, if needed, and peel off the top layer. If you want to make any changes with your fingers or a brush, do it now. When you're satisfied, lay it flat to dry.
Step 8: Level Up (If You Want!) If you're feeling extra artsy, grab more acrylic paints, markers, or whatever floats your creative boat. After it's dried, add extra details or spice up your artwork to make it even more mind-blowing.
Step 9: Show It Off! Congratulations, art virtuoso! Frame your Ziploc Bag Painting masterpiece, hang it up, and let it shine on your walls. Or share it with friends and family to spread the joy of creativity! Snap some pics and show off your talent on social media - who knows, you might inspire a whole new generation of artists!
Remember, this art adventure is all about having fun and letting your creativity run wild. So gather your art supplies, unleash the magic of Ziploc Bag Painting, and enjoy every glorious moment of this awesome ride. Happy painting, my fellow art rockstars!

